If you want to be a streamer and grow with a large audience of Twitch followers, stay and learn what you have to do and what you have to take into account to stream without complications. If you still don’t know where to start, here we help you!
Why Stream on Twitch?
There are many reasons why you should stream on Twitch. One of those reasons is because it gives you great user engagement. Also, if you are a beginner in the area, this platform is the best option to start, because it is so intuitive that it will provide you with a large number of tools that you can use to your advantage.
And don’t worry about wanting to learn quickly, as you use the platform you will get to know each of its functions. A super important factor of this platform is that the complications to be able to transmit are less, compared to the YouTube platform. That is to say, it is much more practical and simple to start from Twitch and earn money for your content.
First of all, to monetize content, you need to stream more than 500 minutes of content for seven days and at least have minimum 3 or more viewers. Now, if you compare it to YouTube, you need to have 1,000 subscribers and more than 4,000 hours of viewing.
If we consider the monetization aspects, it is important to mention that on Twitch 100% of the donations go to the streamers, so the platform only gets a small part of the profits obtained from the ads.
Now that you know how monetization works, are you ready to start your career as a streamer?

Want to start monetising with Streamion?
It's very simple: sign up, choose the brands you want to collaborate with and start earning money.
How to do it Step by Step (Set up)
If you are already decided and you don’t know where to start, we recommend you to follow the following steps to start fulfilling one of your goals, which is to start your Twitch account, how can you do it? Pay attention:
Paso 1: Register on Twitch.tv
Before streaming, you need to register on the platform. If you still don’t know how, the first thing you should do is visit Twitch‘s homepage and click on the option to register.

Once you are inside, complete the necessary data to create your profile, write the code to verify, choose the topics you are interested in and that would be all. Remember to activate the two-step authentication to protect your account.

Step 2: Customize you channel
Set how you want to show yourself to the world. In order to set up your channel, go to the icon of your channel and click on the “Settings” option and in seconds you will see the options to place a profile picture, banner, colors of your channel. In order to set up your channel, go to your profile icon, click on the “Settings” option and in seconds you will see the options to place a profile picture, banner, detail colors, among other things.


We recommend that you add a biography, links to your social networks, you can also choose to upload a trailer about your content and thus present yourself to hundreds of users on Twitch. In addition, it is crucial that you make a calendar so that your audience knows in advance when you will present specific content.
Step 3: Inspect the community guidelines
Although it may seem obvious, when you register in a platform, you are already part of its community. You must be aware of all the rules, what type of content is accepted, know the infractions, among others. Therefore, it is very important that you carefully read each of the community guidelines.
Step 4: Verify technical requirements, required peripherals and hardware
Before streaming it is crucial that you know what device you are going to use, whether it is a computer, console or mobile. It is essential that you check your internet connection, graphics card and processor, as they must have enough features to allow you to play and encode simultaneously.
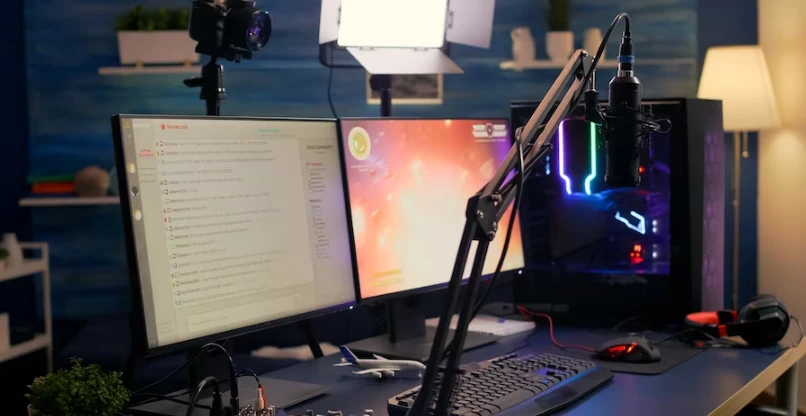
On the other hand, you must have at least a camera, a microphone and lights that allow you to have good lighting and equipment that provides excellent audio and video quality in your streamings. If you need to know more about this, read the hardware recommendations and recommendations for broadcasting on the Twitch platform.
Step 5: Select streaming software and link it to the platform
Choose the best program that suits your needs and does not diminish your potential. To connect to Twitch you just need to use the main stream key, which you can find by clicking on the “Settings” button and then on “Stream”.
After you finish configuring the software, give a title, tag and category to your broadcast, so that users can find you.
Programs for live broadcasting
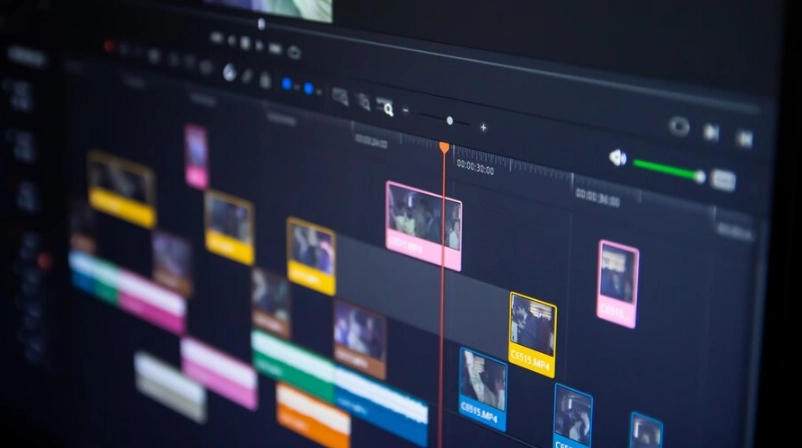
If you want to stream live, you should opt for a program that captures the signal and transfers it to Twitch. There are many software options you can opt for, but first you must identify your goals and your needs. We recommend you to read the article streaming set up.
The most commonly used programs are listed below:
- OBS Studio: is one of the most complete software, due to all the possibilities it offers. You can customize the details of the broadcast, combine fonts, add filters, effects, among others. Besides, it is important to mention that this program depends on many plugins to increase its possibilities. It is open source and is available for free for Mac, Windows and Linux.
- Nvidia ShadowPlay: if you have a computer with an Nvidia GeForce graphics card and GeForce Experience, you will be able to use the option to stream your content. All you have to do is press Alt+Z in Windows and you will have all the options. This program has less impact on your performance, but its functions are limited.
- StreamLabs OBS: you will be able to interact with your audience and monetize your broadcast, plus it provides you with overlays and themes totally free. Its interface resembles that of OBS and allows you to import sequences from OBS Studio. This program is free and is available for Windows and Mac. However, it offers a paid version that allows you to broadcast at the same time on YouTube, Twitch and Facebook.
- XSplit Broadcaster: this program is basically the competition of OBS. Its great benefit is that it is very intuitive, but its disadvantage is that it has a free version where its possibilities are limited, so you must purchase the paid option to have access to all its functions.
- Twitch Studio: The Twitch platform also offers a totally free tool that allows you to broadcast live. It has a configuration-oriented setup that makes it easy for you to connect your webcam, microphone, chroma key, bit rate, resolution and much more. In addition, it has templates that you can customize to your liking and offers you the activity feed and chat integrated into the program.
How to broadcast on Twitch from mobile?

If you want to broadcast from your cell phone, you are in your lucky day because we will explain briefly what to do, pay attention to the following 2 steps:
The first step is to download the Twitch application on your cell phone and log in, if you don’t have an account yet you can easily create one. This step is explained in the previous points.
The second step is to press the “Broadcast live” banner, located at the top of the cell phone. After that, you can start your streaming with input for your camera and for your video games.
That’s it! Did you realize how easy it is? Now you can stream and enjoy your games from your cell phone.

Want to start monetising with Streamion?
It's very simple: sign up, choose the brands you want to collaborate with and start earning money.
Conclusion
Achieving your goal of becoming a streamer is not as difficult as it seems, with all the content we cover, you will be able to organize your first broadcast without complications. We encourage you to give it a try, we accept no excuses!Remember, all you have to do is create your Twitch profile, select the streaming program that best suits your needs and the rest is a piece of cake. Just focus on your goal and on the multiple benefits that the platform offers you. Besides, you have in your favor how easy it is to use the Twitch platform. Come on! Can you already imagine your streaming life?


